
 By Julien Dubois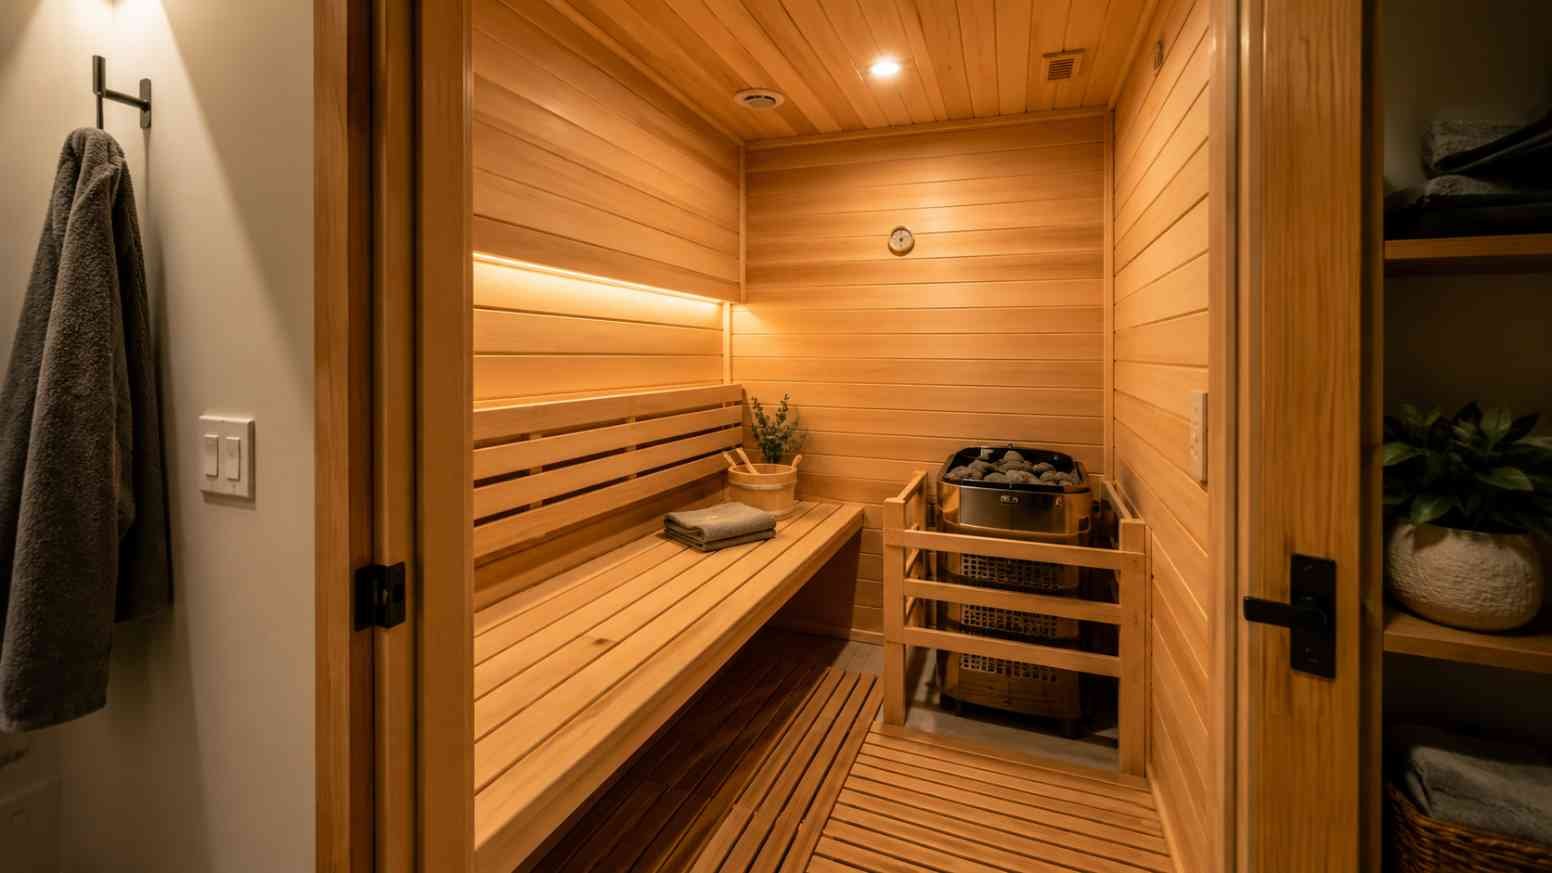
That closet full of coats you never wear? It’s basically wasted square footage. I’ve walked into more spare rooms doubling as junk storage than I can count, and honestly, most of them would make a fantastic home sauna. But here’s the thing people underestimate: this isn’t a weekend project with a staple gun and some cedar boards. You’re building an environment that hits 180°F with heavy humidity, inside a house that was never designed for that. Get it wrong and you’re not just wasting money — you’re growing mold inside your walls.
Do it right, though, and it’s one of the best upgrades you can make to a home. Let’s get into how.
1. Evaluate Space and Structural Readiness
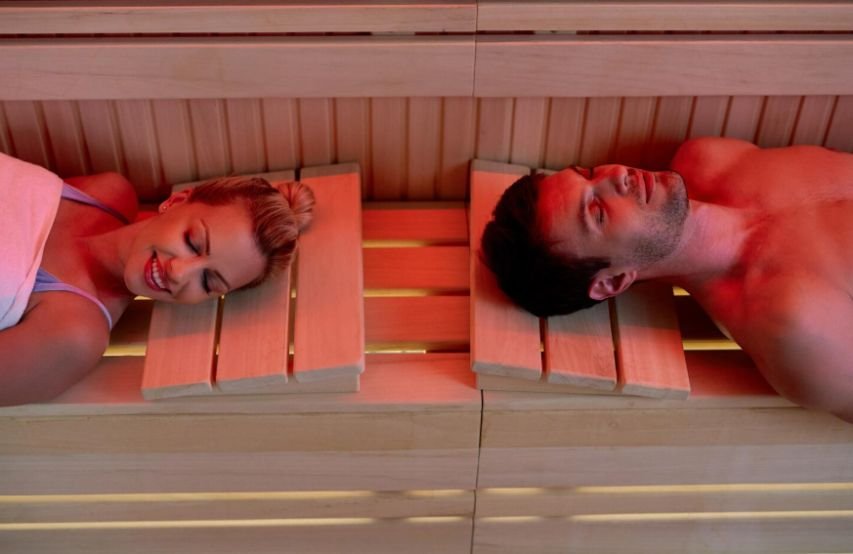
Before you buy a single board, go stand in the space. A closet needs roughly four feet by four feet to fit two people comfortably — any smaller and it feels like a phone booth. Spare rooms give you more freedom, room for tiered benches, and space for sauna kits indoor setups, that sort of thing.
Check your subfloor. Is it level? Solid? Can it handle the weight of a heater, wet cedar benches, and a couple of grown adults sitting on them? If you’re working over concrete, seal it first with an epoxy or waterproof membrane. And strip the drywall down to the studs — all of it. Gypsum board and sustained heat do not mix. It’ll degrade, trap moisture, and become a mold farm behind your walls within a year or two.
2. Upgrade Electrical Infrastructure
This is where a lot of DIYers get tripped up. Your average sauna heater needs way more power than a standard outlet can give it — we’re talking a dedicated 240-volt circuit, typically 30 to 50 amps depending on the room’s volume.
Wiring: Run copper conductors rated for high heat, through non-metallic conduit, straight from your main panel.
Controls: Keep the thermostat or digital controller outside the heated zone. Components fail fast when you cook them.
Safety: Don’t skip the hardwired high-limit cutoff switch above the heater. It’s cheap insurance against something going seriously wrong. And before any of this — call an electrician. Verify your panel can actually handle the load. I’ve seen people fry a breaker box because they guessed instead of checking.
3. Maximize Insulation and R-Values
Heat retention is where efficiency lives or dies. Two-by-four walls should be packed with high-density rock wool at R-13 minimum. If you’re framing with two-by-six studs, go for R-19 — it’s worth the extra lumber cost.
Skip the standard paper-faced fiberglass batts. The binders in that stuff off-gas under sustained heat, and that’s not something you want to be breathing in a small enclosed room. Insulation needed for the ceiling should be R-22 to R-30. The reason being that heat always rises, and it will be very important to have your ceiling insulated properly. .Otherwise, you will have to run your heater double to reach the required temperature.
4. Install an Airtight Vapor Barrier
This step separates a sauna that lasts twenty years from one that rots out in three. Once insulation’s in, wrap everything — walls and ceiling — in a six-mil aluminum foil vapor barrier.
Overlap seams by at least six inches. Tape every joint, every staple hole, every seam with high-heat foil tape — don’t get lazy here. Foil faces inward, always, so it reflects heat back into the room instead of absorbing it.
One thing worth repeating: never use regular polyethylene sheeting. It melts. It sags. Above 150°F it starts releasing fumes you really don’t want in an enclosed sweat box.
5. Select Non-Toxic, Heat-Resistant Wood
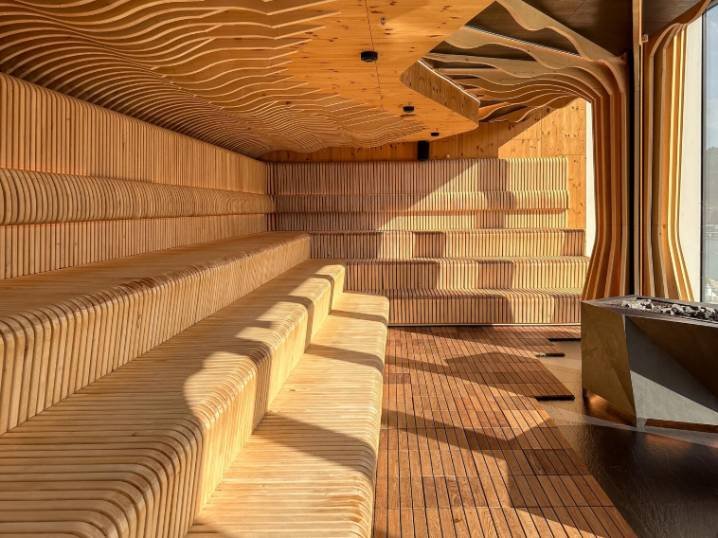
Wood choice makes or breaks the feel of the room — literally, since you’re sitting on it.
Western Red Cedar has been the standard for decades because it is naturally water resistant, has a beautiful grain structure, and stays cool enough to rest against the skin regardless of temperature.
1.Canadian Hemlock is a solid budget-conscious pick — clean, knot-free, durable, without the strong cedar smell (some people don’t love that aroma).
2.Nordic Spruce gives you that Scandinavian look, but make sure it’s properly kiln-dried. Skip that step and you’ll get sap bleeding out of the boards at the worst possible moment — usually right when a guest sits down.
Cladding should go horizontal over vertical furring. The air space in between the wood is very important; it stops moisture from collecting against the wall.
6. Design Passive Cross-Ventilation
Stale air ruins a sauna session fast. You want a simple two-vent setup: an intake vent low on the wall, ideally right behind or beneath the heater, and an exhaust vent up high on the opposite side — venting into an adjacent room or straight outside.
That’s it. No fans, no mechanical complexity. Just a gentle convective loop that keeps the air moving and helps everything dry out once you’re done.
Final Word
A good sauna build isn’t glamorous. It’s insulation, vapor barriers, and electrical code — the unsexy stuff that nobody notices until it fails.
The same principle applies to everyday wellness: small preventive choices, including eating habits that protect teeth and avoid dental emergency, can reduce avoidable problems before they become more serious.
But do things right from the ground up—whether building custom or using sauna kits indoors—and you’ll end up with a structure that retains heat properly, has the scent of cedar rather than mildew, and will last for years to come rather than collapsing after the third year. That is the difference between proper construction and a Pinterest project gone wrong.