Wiring a standard 120-volt outlet is more approachable than many homeowners expect, especially when they have a clear guide and the right tools nearby. This tutorial explains how to wire an outlet step-by-step, following reliable wiring standards, practical safety habits, and the same methods used by professional electricians. The instructions below also incorporate the essential details from the original wiring guidelines you provided. Because electrical work involves real risk, turning off the power and testing it should always be the priority. Anyone who feels unsure should consult a licensed electrician before moving forward, and taking time to understand each step will make the entire process smoother and far more confidence-building.
Tools and Materials Required
Before getting started, gathering all tools in one place makes the job easier and more efficient. Wiring a standard outlet safely depends on having the right equipment ready to go.
Here are the essential items every homeowner should have on hand.
- Standard 120-volt outlet (receptacle)
- Screwdriver (a combination head works well)
- Wire strippers or cutters
- Needle-nose pliers
- Voltage tester
- Electrical box (existing or new)
- Wire nuts (for pigtails or multiple wires)
- Cover plate
These are the same tools recommended in home improvement manuals and professional wiring courses.
Safety Steps Before Touching Any Wiring

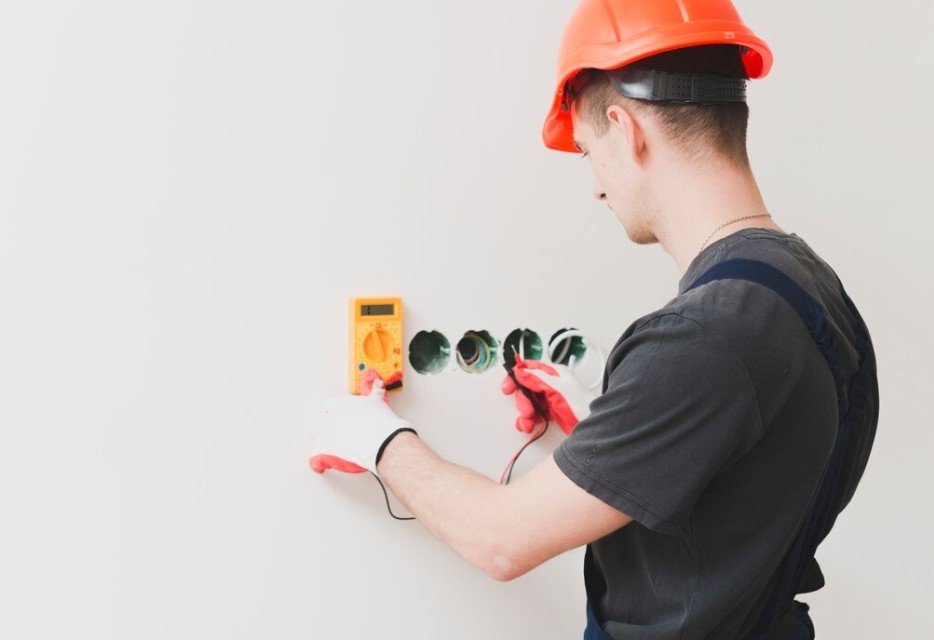
Working safely begins long before the wires are handled. The breaker panel must be the first stop. Turning off the correct circuit is essential, but verification is what truly protects a homeowner.
A voltage tester should first be checked on a known live outlet to confirm it’s working. Only then should the outlet being replaced be tested. This double-check is standard practice among electricians because it eliminates assumptions.
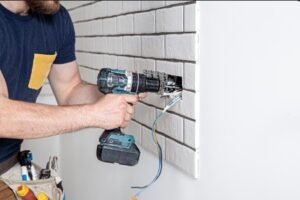
How to Prepare the Wires
Once the outlet cover is removed and the receptacle is pulled forward, the wiring becomes fully accessible. This is the point where each wire can be inspected, cleaned up, and prepared for connection. A little patience here ensures the rest of the installation goes smoothly and safely.
- Disconnect the old outlet by loosening screw terminals or releasing push-in connectors.
- Strip roughly 3/4 inch of insulation from each wire.
- Bend each bare copper end into a small hook using needle-nose pliers.
Professional installers bend the hook clockwise. When the screw tightens, the hook tightens with it instead of slipping out.
Understanding Wire Colors and Terminals
A 120-volt outlet uses color coding that always follows the same pattern. Anyone learning how to wire an outlet must become familiar with these assignments:
| Wire Color | Function | Terminal Location | Screw Color |
| Black | Hot (power source) | Brass side | Gold |
| White | Neutral | Silver side | Silver |
| Bare copper or green | Ground | Bottom or top grounding point | Green |
Correct placement ensures the outlet operates safely and consistently. The hot wire attaches to the smaller slot side of the outlet, while the neutral attaches to the larger slot.
Step-by-Step Instructions for Wiring an Outlet
The wiring process becomes much easier when it’s approached in a clear, organized sequence.
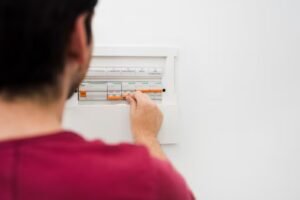
Turn Off the Circuit
The breaker supplying the outlet is switched off completely.
Verify That the Power Is Off
A voltage tester is used to ensure that no electricity remains in the wires.
Prepare the Outlet and Wiring
Wires are stripped, shaped into hooks, and positioned for attachment.
Attach the Wires to the Terminal Screws
Each wire hook wraps clockwise around its matching screw. The hot, neutral, and ground wires are secured firmly so there is no movement.
Seat the Outlet in the Electrical Box
The outlet is pushed back into the box with enough room for the wiring to rest comfortably without bending sharply. Mounting screws hold the receptacle in place.
Install the Cover Plate
The faceplate is attached to complete the installation.
Restore Power and Test the Outlet
The breaker is turned on, and an outlet tester is plugged in to confirm that the wiring is correct.
These are the same important steps followed in trusted wiring tutorials, including those published by home improvement stores and electrical safety educators.
Wiring Methods: Side-Wiring, Back-Wiring, and Pigtails
Side-Wiring
This method uses screw terminals to secure each wire. It’s the most reliable approach and is preferred by professionals.
Back-Stab (Push-In) Wiring
Some outlets allow wires to be pushed into ports on the back. While quick, these connections may loosen with time and are not the first choice for long-term durability.
Back-Wire Clamp Plates
Newer, higher-quality outlets use clamp plates that secure the wire when the screw tightens. This design offers the convenience of push-ins with stronger performance.
When Pigtails Should Be Used
Pigtails allow multiple wires to connect safely without overloading a single terminal. They’re especially helpful in older homes or when joining several outlets on a single run.
Avoiding Common Wiring Mistakes

Wiring mistakes may seem small in the moment, but they can quickly turn into nuisance tripping, unreliable outlets, malfunctioning appliances, or even serious electrical hazards if left unchecked. The good news is that most of these problems are completely avoidable with a little attention to detail. Some of the most common mistakes include:
- Reversing hot and neutral wires
- Leaving too much exposed copper outside the terminal
- Forgetting to attach the ground wire
- Using outlets not rated for the circuit’s amperage
- Stuffing too many wires into a small electrical box
A quick visual check before reinstalling the outlet often prevents these oversights.
When a GFCI or AFCI Outlet Is Required
Bathrooms, kitchens, garages, unfinished basements, and outdoor locations require GFCI protection. Bedrooms and living areas in newer homes often require AFCI protection. Homeowners should confirm local electrical code requirements before choosing the type of outlet for their project.
Frequently Asked Questions
What skill level is needed to wire an outlet?
A homeowner with patience and a clear understanding of the wiring steps can complete the job safely. The most important steps—turning off the power, testing it, and connecting wires correctly—must be followed closely. Anyone who feels uncertain should contact a licensed electrician.
What happens if hot and neutral wires are reversed?
Reversed polarity creates a shock risk and may damage sensitive electronics. An inexpensive outlet tester will immediately show this issue. The wires must be swapped to their correct terminals to fix the problem.
Are push-in connections safe to use?
Push-in wiring is allowed, but side-wiring through screw terminals provides a stronger, longer-lasting connection. Many electricians avoid push-ins for that reason.
Should a homeowner use a 15-amp or 20-amp outlet?
Most indoor outlets are 15-amp. Circuits using 12-gauge wire and protected by a 20-amp breaker require a 20-amp receptacle, which is identified by the T-shaped slot.
Final Thoughts
Knowing how to wire an outlet gives homeowners confidence to maintain or update their electrical fixtures safely. With the right tools, a deliberate approach, and a focus on safety, this project can be completed smoothly. Clean connections, correct wire placement, and proper testing ensure long-lasting performance. And once someone sees how manageable the process actually is, it often becomes the first step toward taking on more home projects with ease.